How to Use Mouth Tape for Better Sleep: 2026 Beginner’s Guide
Learn how to use mouth tape step by step — prep, placement, first-night tips, and what to do if it feels uncomfortable. Beginner guide with product picks.
What Mouth Tape Does (and Does Not Do)
If you have read about mouth taping and want to try it but do not know exactly where to start, you are in the right place. Learning how to use mouth tape for sleep takes about five minutes of reading and one slightly awkward first night. After that, most users report it becomes as automatic as turning off the lights.
This guide covers the complete first-week protocol: how to prepare, how to apply the tape correctly, what to expect on nights one through seven, and how to handle the specific challenges that cause most beginners to quit before they see results.
What Mouth Tape Does (and Does Not Do)
Mouth tape keeps the lips closed during sleep, encouraging the body to breathe through the nose instead of the mouth. Nasal breathing during sleep is associated with reduced snoring, better blood oxygenation, less morning dry mouth, and improved sleep quality over time.
What mouth tape does not do: it does not prevent all snoring (snoring caused by sleep apnea or structural factors is not resolved by mouth position alone), it does not work as a treatment for serious respiratory conditions, and it does not force breathing through a blocked nasal passage. If your nose is significantly congested, the tape alone will not be comfortable — nasal strips used in combination with mouth tape address this.
The most important thing to understand before starting: the first three nights are not representative of the experience. Almost everyone finds the first few nights uncomfortable and strange. The tolerance window is the barrier, not the product.
Who Should Not Use Mouth Tape
Before starting, a brief checklist of situations where mouth tape is not appropriate without medical guidance:
- Diagnosed moderate-to-severe obstructive sleep apnea (mouth tape alone is not a treatment and should not replace CPAP or other prescribed interventions)
- Significantly blocked nasal passages (polyps, deviated septum, or severe chronic congestion)
- History of claustrophobia or anxiety disorders triggered by physical restriction
- Known adhesive allergies (patch test on the skin near the lips before the first overnight use)
- Children under 12
For healthy adults without these conditions, mouth tape at the Tapeher design level is a safe and well-tolerated practice.
How to Use Mouth Tape: Step-by-Step for Night One
The application process takes under 30 seconds once you have done it a few times. Night one will take longer because you are learning.
Step 1: Prepare your lips
Ensure your lips are clean and dry. Remove any lip balm or skincare product from the lip area — adhesive does not stick reliably to emollient-covered skin, and this is one of the most common reasons people report tape peeling off during the night. If you use a nighttime skincare routine, apply it to the face first and let it absorb before applying tape to the lip area.
Step 2: Open the strip from the packaging
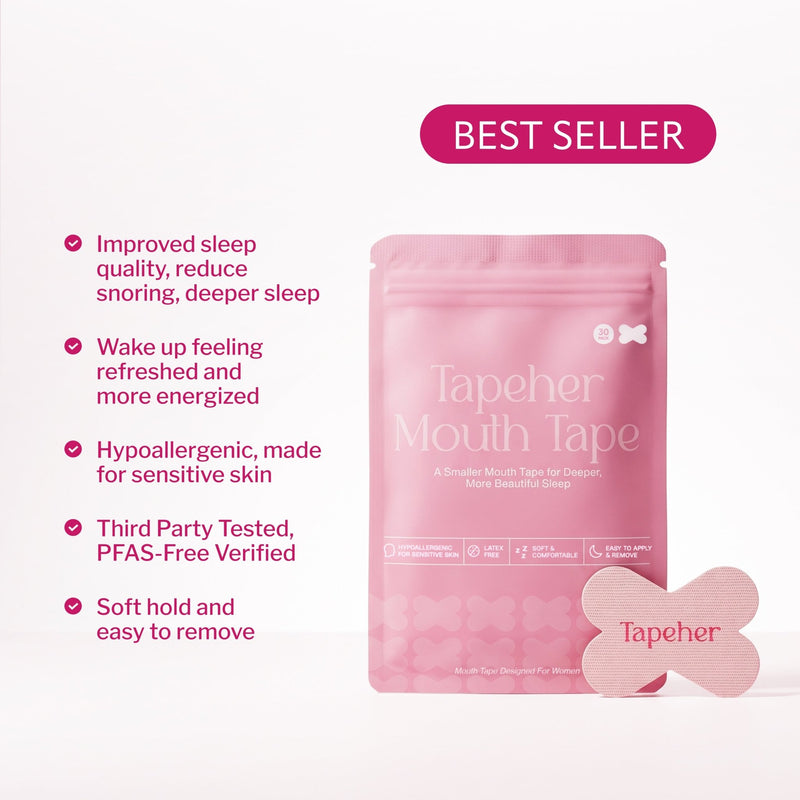
Tapeher strips are pre-cut to the X-shape and individually separated. Peel one strip from the backing. Handle it by the very edge to avoid getting fingerprint oils on the adhesive surface.
Step 3: Position the strip
Hold the strip by the edges and position it over your lips with the cut-out corners at the sides of your mouth. The tape should cover the center two-thirds of your lip area. The corners of your mouth should be accessible and slightly open beneath the cut-out sections.
Center the strip vertically on your lips — covering roughly equal portions of the upper and lower lip. Do not apply it so high that it sits on the skin above the lip line or so low that it sits on the chin.
Step 4: Press gently and hold
Once positioned, press the strip gently with two fingers for 3-5 seconds. This activates the adhesive bond. Do not rub — pressing is sufficient. The bond will be light initially and will set fully within a few minutes of contact.
Step 5: Lie down and allow adjustment time
The first 10-15 minutes in bed are the adjustment window. Your brain will likely send “remove this” signals repeatedly. The response is to breathe slowly through your nose and allow the novelty to fade. Most people who get through the first 15 minutes fall asleep normally.
If the sensation triggers genuine anxiety rather than just mild discomfort, remove the tape. Trying again on the following night with a shorter pre-sleep awareness period (apply the tape after you are already lying down and nearly asleep) often resolves this.
How to Remove Mouth Tape in the Morning
Do not dry-peel the tape. The correct removal method:
- Dampen a fingertip with saliva or water
- Press the damp finger to one edge of the strip for 3-5 seconds
- The adhesive will soften and the edge will lift cleanly
- Peel gently from one side to the other
This method leaves no adhesive residue and no redness. Dry-peeling can cause mild skin irritation, particularly for users with sensitive skin around the mouth.
The First-Week Protocol
Most mouth tape abandonment happens in the first week because of tolerance, not product failure. Here is a week-by-week expectation guide.
Nights 1-2: Unfamiliar and slightly uncomfortable. You will likely be aware of the tape for much of the time it takes to fall asleep. This is normal. Focus on nasal breathing and allow the sensation to recede.
Nights 3-4: The sensation is still present but noticeably less intrusive. Most people report that falling asleep takes a similar amount of time to their baseline by night three.
Nights 5-7: The tape has become background noise. Most users are no longer conscious of it after the first few minutes in bed. Wake-time results — less dry mouth, reduced snoring as reported by partners, slightly more refreshed waking — typically become noticeable in this window.
After week one: Sustained use produces cumulative benefits. The nasal breathing pattern reinforced nightly becomes more automatic, and some users report that nasal breathing increasingly carries over into their waking hours.
How to Use Mouth Tape if You Have a Stuffy Nose
A blocked nose makes mouth tape impractical because there is no clear nasal airway to breathe through. Two approaches:
Skip nights with significant congestion. If you have a cold with full nasal blockage, skip the tape for those nights. Attempting to sleep with a blocked nose and a closed mouth is uncomfortable and counterproductive.
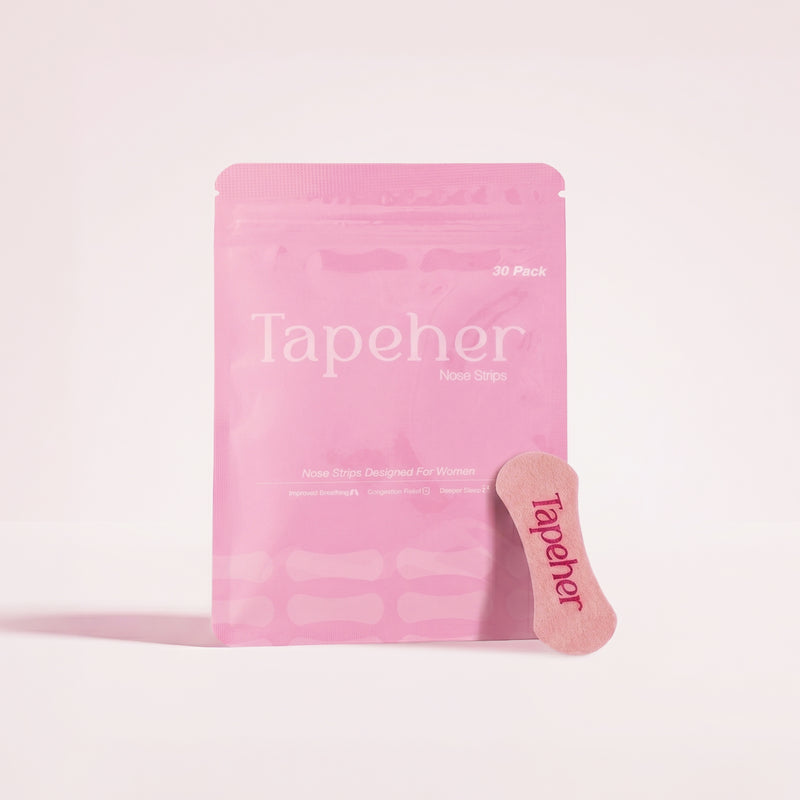
Use nasal strips in combination. For mild congestion — the kind where the nose is partially blocked but functional — Tapeher makes nasal strips (sold separately, $32.99 CAD) designed to dilate the nasal passages mechanically. Using nasal strips with the mouth tape on mildly congested nights maintains the full protocol.
The Tapeher bundle options include mouth tape and nose strips at a 20-25% discount for users who want both products.
Common Mistakes and How to Avoid Them
Using lip balm before applying: As noted above, this prevents adhesion. Apply tape to bare lips.
Applying too high or too low: The strip should sit on the lips themselves, not on the skin above or below. Off-center placement reduces comfort and adhesion.
Giving up after two nights: Two nights is not enough to judge the experience. The discomfort window is three to five nights; the benefit window starts at five to seven nights. Making a judgment call after night two is like judging running by the experience of the first training run.
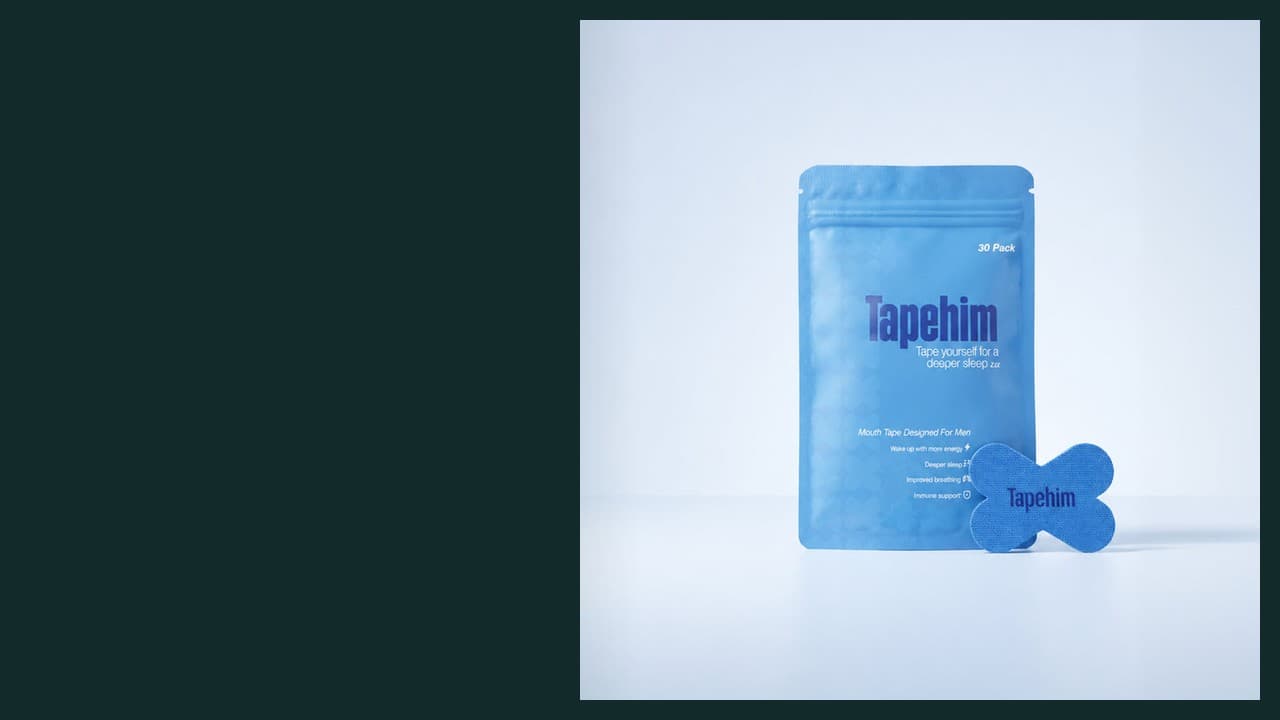
Using the wrong product: General-purpose tape (masking tape, medical paper tape) is not appropriate for nightly lip use. The adhesive formulations are too aggressive for the sensitive skin around the lips and will cause irritation. Purpose-built mouth tape like Tapeher is formulated specifically for this application.
Applying while sitting up: The strip is easier to position accurately when you are lying down or in front of a mirror. Once positioned correctly, the tape is self-supporting.
Tracking Your Results
The most useful data point from mouth tape is not how you feel during the application but how you wake up. Track the following for your first two weeks:
- Morning mouth hydration (scale of 1-5, where 1 is very dry and 5 is normal)
- Reported snoring from bed partner (if applicable)
- Subjective sleep quality on waking (scale of 1-5)
- Any morning throat irritation
Most users see improvement in morning hydration within 3-5 nights. Snoring reduction, if applicable, is typically reported by partners within the same window. Subjective sleep quality improvements may take longer — one to three weeks — because the cumulative effect of better oxygenation during sleep builds over time.
Most users who commit to mouth tape past the first week continue for months or years, primarily because the benefits are immediately noticeable and immediately lost on nights the tape is skipped. That feedback loop — dry mouth returning the moment you skip a night — is one of the most reliable habit reinforcers in any wellness routine.
For the full 30-night review of Tapeher’s performance, read our Tapeher mouth tape review. For the broader landscape of mouth tape options, see our best mouth tape for sleeping guide.
Recommended for you
 Electric Wheelchair Cost, Insurance & Financing: What to Really Expect (2026)
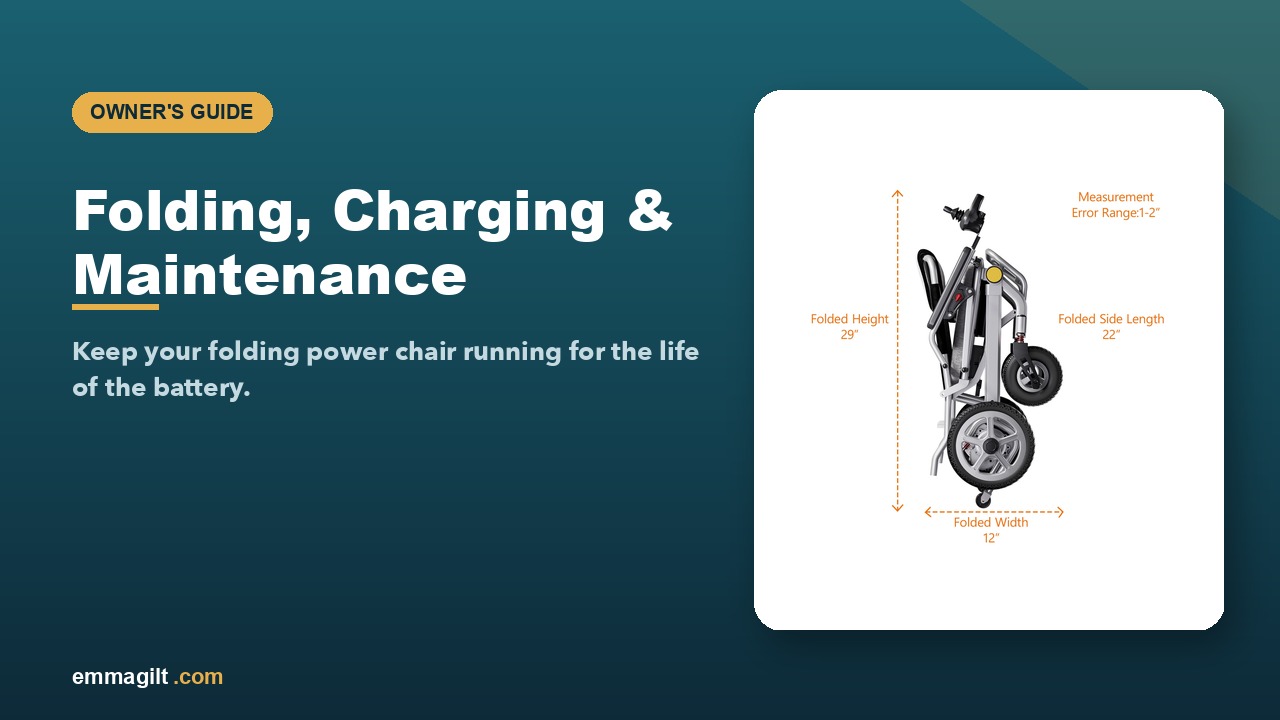 Foldable Electric Wheelchair Maintenance: Folding, Charging & Care (2026)
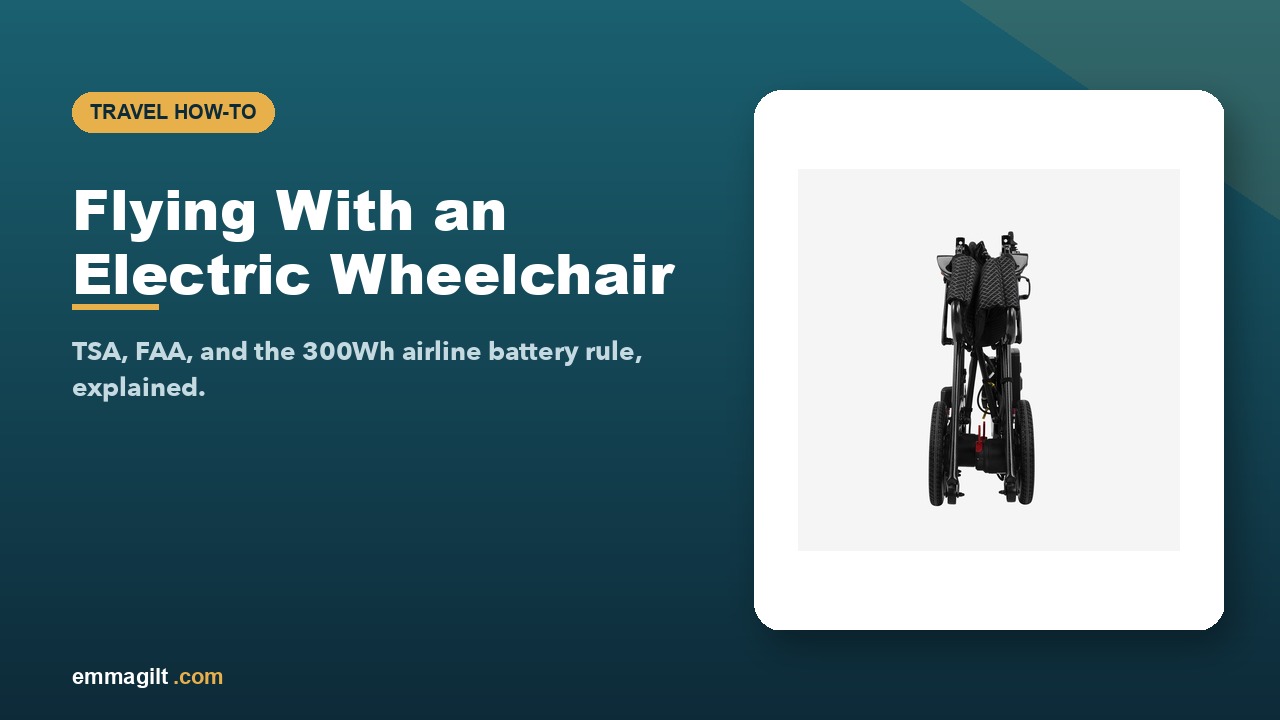 How to Travel by Plane With an Electric Wheelchair (2026 Guide)
 Power Wheelchair vs Mobility Scooter: Which Is Right for You? (2026)
 Kerdom Wheelchair Comparison: DX04 vs DX07 vs DX08 (2026)
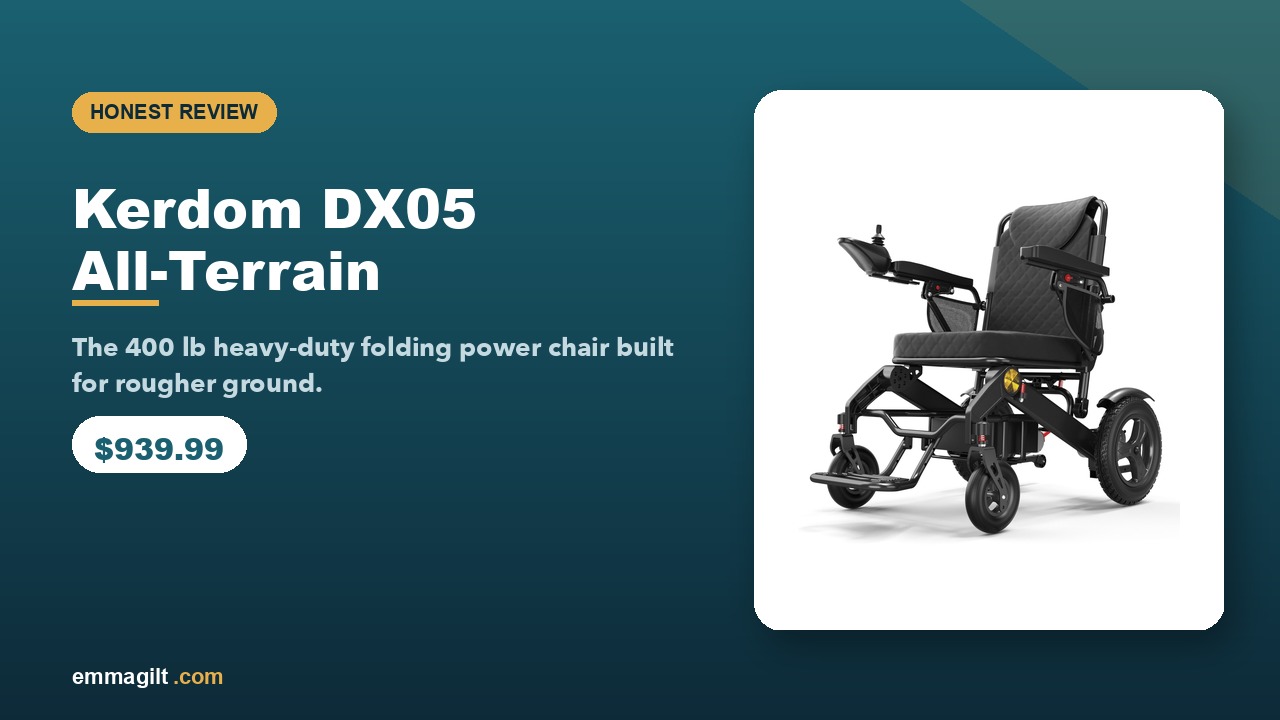 Kerdom DX05 Review: The 400 lb All-Terrain Folding Power Chair (2026)