How to Layer Delicate Jewelry: Build a Stack That Looks Expensive on Any Budget
How to layer delicate jewelry so a stack looks expensive on any budget: the odd-number rule, mixing lengths and textures, and which pieces to buy first.
How to Layer Delicate Jewelry: The Three Rules That Matter
- How to Layer Delicate Jewelry: The Three Rules That Matter
- The Foundation: Necklaces
- Mixing Textures Is the Real Trick
- Stacking Rings the Expensive Way
- Which Pieces to Buy First
- Layering the Wrist and Ears Too
- Common Layering Mistakes to Avoid
- Building Stacks for Different Occasions
- Frequently Asked Questions
- Final Thought
A great jewelry stack looks effortless and expensive. It almost never is. The secret stylists know is that learning how to layer delicate jewelry is a set of simple rules, not a budget – and once you know them, $40 of well-chosen gold-plated pieces can read richer than a single pricey chain worn alone. This guide walks through the exact framework: lengths, textures, the odd-number rule, and which pieces to buy first so nothing you own goes to waste.
The core idea is contrast with cohesion. Every piece in a stack should be different enough to be noticed, but united enough to look intentional. Get that balance right and the whole thing looks curated. Get it wrong and it looks like you forgot to take some jewelry off. Here’s how to land on the right side.
How to Layer Delicate Jewelry: The Three Rules That Matter
Before the piece-by-piece breakdown, internalize the three rules that everything else hangs on. First, vary lengths and textures so each piece earns its place. Second, keep one metal tone while you learn, so nothing clashes. Third, give the eye a single focal point. Master those three and the rest is just refinement.
The Foundation: Necklaces
Necklaces are where most people start a stack, and where most people get it wrong by buying chains that are too similar in length.
The fix is graduated lengths. Aim for roughly 2-inch gaps between layers so each piece has its own space:
- Base layer (14-16 in): a fine choker-length chain that sits high on the neck.
- Middle layer (18 in): your “hero” piece – a small pendant or a piece with meaning, like a calligraphy bar or an Ayatul Kursi necklace.
- Statement layer (20-24 in): a slightly longer chain or a second small pendant to anchor the bottom.
Two layers already look polished; three is the sweet spot. Beyond three, delicate chains start to tangle and the look gets fussy.
A few rules that do the heavy lifting:
- Vary the chain style, not just the length. Pair a cable chain with a box chain or a thin rope. Identical chains at different lengths look accidental; different textures look designed.
- Give one piece a focal point. A single pendant among plain chains tells the eye where to land. Everything else is supporting cast.
- Use an extender on one chain so you can fine-tune the gaps. This one cheap accessory fixes most layering problems instantly.
Mixing Textures Is the Real Trick
This is the step that separates a stack that looks expensive from one that just looks like a lot of jewelry. Price isn’t what reads as luxury – variety of texture is.
Within a single metal tone, combine:
- Smooth (a plain polished chain)
- Sparkle (a thin pavé or tennis-style piece)
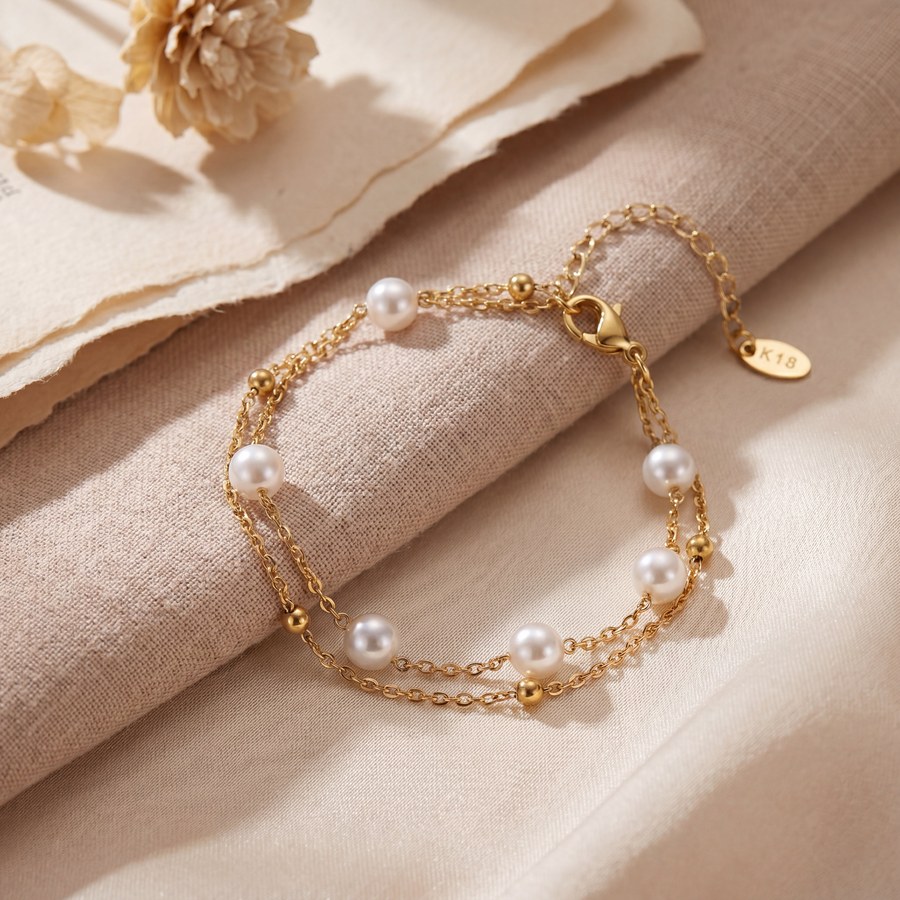
- Organic (pearls, beads, or a hammered finish)
A freshwater pearl bracelet next to a plain gold chain, for instance, instantly looks more considered than two matching chains, because the eye reads the contrast as intentional curation. Mixing textures is the cheapest upgrade in all of jewelry styling – it costs nothing but a little planning.
One caution: keep the metal tone consistent while you’re learning. All-gold or all-silver stacks are foolproof. Mixed metals can look incredible, but they’re an advanced move that’s easy to get wrong. Master one tone first.
Stacking Rings the Expensive Way
Rings follow the same logic as necklaces, scaled down. The goal is a hand that looks adorned but not crowded.
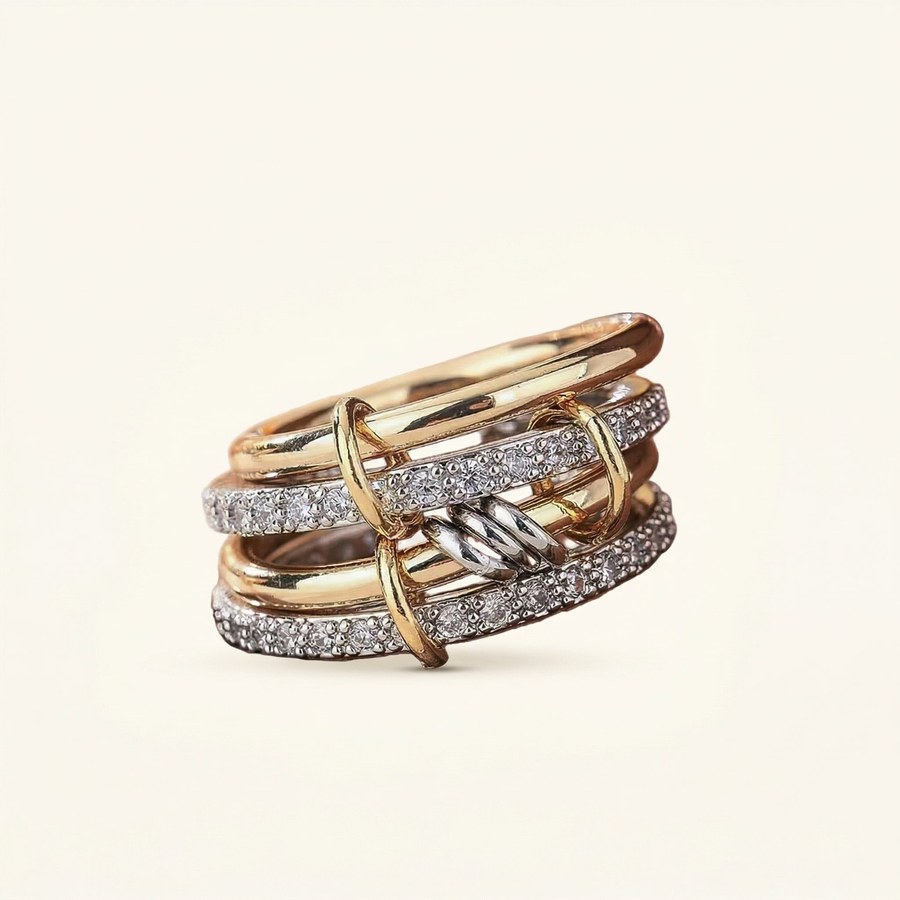
- Use the odd-number rule. Three rings across a hand looks balanced and intentional; two or four often looks lopsided. Odd numbers read as styled.
- Spread them out. Don’t pile everything on one finger. Distribute across two or three fingers, including a midi (above-the-knuckle) ring for a modern touch.
- Mix widths. A thin band next to a slightly wider or textured band creates rhythm. Buy rings designed to stack – pieces like a Sabr stack ring are shaped to nest together without gapping.
- Leave breathing room. One bare finger between clusters keeps it from looking maximalist.
The same goes for the wrist: a delicate chain bracelet plus one beaded or textured piece is plenty. Two well-matched bracelets beat five competing ones.
Which Pieces to Buy First
You don’t need a drawer full of jewelry to layer well. Build a small, mixable core and you can create dozens of looks:
- A fine base chain (16 in).
- One meaningful pendant on an 18-inch chain.
- A set of two or three stack rings in one finish.
- A textured bracelet (pearl or beaded) plus one plain chain bracelet.
- Small huggie hoops that disappear into any look.
Buy all of it in a single metal tone, ideally 18K gold-plated over stainless steel so it survives daily wear, and you have a complete layering wardrobe for well under the price of one designer chain. For more on choosing pieces that last, see our guide to dainty gold jewelry brands.
Layering the Wrist and Ears Too
Stacking doesn’t stop at necklaces and rings. The same rules scale to the rest of the look, and using them ties an outfit together.
Wrists. Treat the wrist like a mini necklace stack: one delicate chain bracelet as the base, one textured or beaded piece for contrast, and stop there. If you wear a watch, count it as one of your two pieces and add just a single thin bracelet alongside it. The goal is rhythm, not a full arm party.
Ears. A curated ear is the easiest way to add polish. Start with a small stud in the first hole, add a huggie hoop in the second, and finish with a tiny climber or a second small stud higher up. Keep the metal tone matched to your necklaces so the whole look reads as one styled set.
Common Layering Mistakes to Avoid
Even with the right pieces, a few habits flatten a stack. Steer clear of these:
- Matching everything too closely. Three near-identical chains look like an accident. Variety in length and texture is what signals intention.
- Overcrowding. More is not richer. A tangled pile reads as cluttered, not luxurious. When in doubt, remove one piece.
- Ignoring your neckline. A high crew neck wants shorter layers; a deep V wants a longer hero pendant. Match the stack to the outfit, not the other way around.
- Mixing metals before you’re ready. It can look stunning, but it’s the move most likely to go wrong early. Build confidence in one tone first.
Avoid those four and even a modest collection will look like it was put together by someone who knows exactly what they’re doing.
Building Stacks for Different Occasions
One small collection can flex to any setting once you know how to dial it up or down.
- Everyday: Two necklaces (base chain plus one pendant), three stack rings spread across two fingers, and small huggie hoops. Understated and durable enough to wear without a second thought.
- Work: Pull it back to one fine chain, a single ring, and studs. Polished, quiet, and professional – layering still reads, just at a whisper.
- Evening: This is where you add sparkle. Swap one plain chain for a tennis-style or pavé piece, add a third necklace layer, and let a pendant catch the light. The texture contrast does the work; you don’t need more pieces, just shinier ones.
- Gifting or special days: A meaningful pendant as the hero layer makes the whole stack feel personal, which is why symbolic pieces anchor a stack so well.
The lesson is that layering isn’t a fixed formula – it’s a dial. Once you own a mixable core in one metal tone, you adjust the volume to fit the moment, and the same handful of pieces carries you from a morning commute to a dinner out without missing a beat.
Frequently Asked Questions
How many necklaces should I layer at once?
Two to three is the sweet spot for delicate chains. Two looks polished and effortless; three adds depth. Beyond three, fine chains tangle and the look starts to feel cluttered.
How do I stop layered necklaces from tangling?
Use graduated lengths (about 2-inch gaps), vary chain textures so they don’t catch on each other, and consider a multi-strand connector clasp for chains you always wear together.
Can I mix gold and silver when layering?
Yes, but it’s an advanced move. If you’re just learning how to layer delicate jewelry, stick to one metal tone until the lengths-and-textures rules feel automatic, then experiment with mixing.
What makes cheap jewelry look expensive?
Texture contrast, consistent metal tone, intentional spacing, and a single clear focal piece. Those four choices matter far more than how much each piece cost.
Final Thought
Looking expensive has almost nothing to do with spending. Master graduated lengths, mix your textures, follow the odd-number rule for rings, and keep one metal tone, and an affordable stack will outshine a single costly chain every time. Start with a few mixable, long-lasting pieces – browse delicate gold options here – and build from there.
And remember that layering is a skill that compounds. The first stack you build might take a few tries in the mirror; within a couple of weeks it becomes muscle memory, and you’ll start seeing combinations everywhere. Buy quality pieces that survive daily wear so your growing collection is an asset rather than a drawer of fading odds and ends, keep everything in one metal tone while you learn, and let the rules above do the heavy lifting. Expensive-looking style was never about the receipt – it’s about knowing how the pieces talk to each other. Now you do. For help choosing pieces that hold up, revisit our guide to dainty gold jewelry brands.
Recommended for you
 Electric Wheelchair Cost, Insurance & Financing: What to Really Expect (2026)
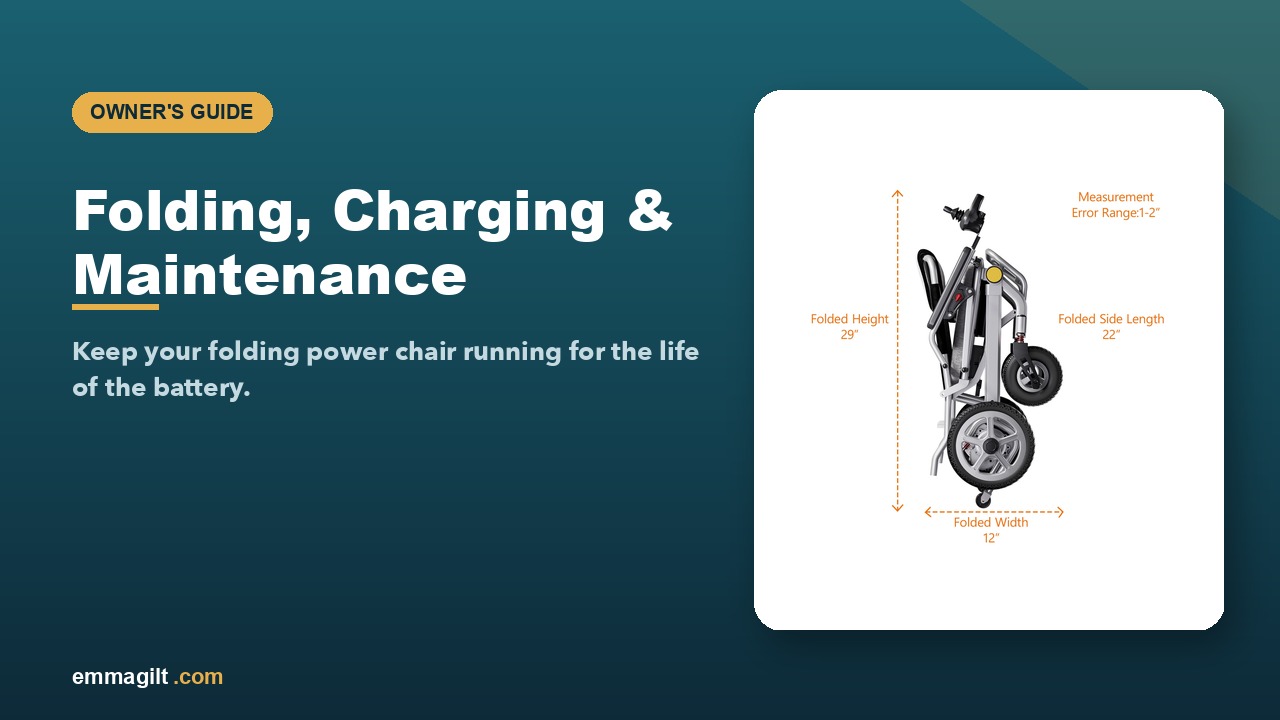 Foldable Electric Wheelchair Maintenance: Folding, Charging & Care (2026)
 How to Travel by Plane With an Electric Wheelchair (2026 Guide)
 Power Wheelchair vs Mobility Scooter: Which Is Right for You? (2026)
 Kerdom Wheelchair Comparison: DX04 vs DX07 vs DX08 (2026)
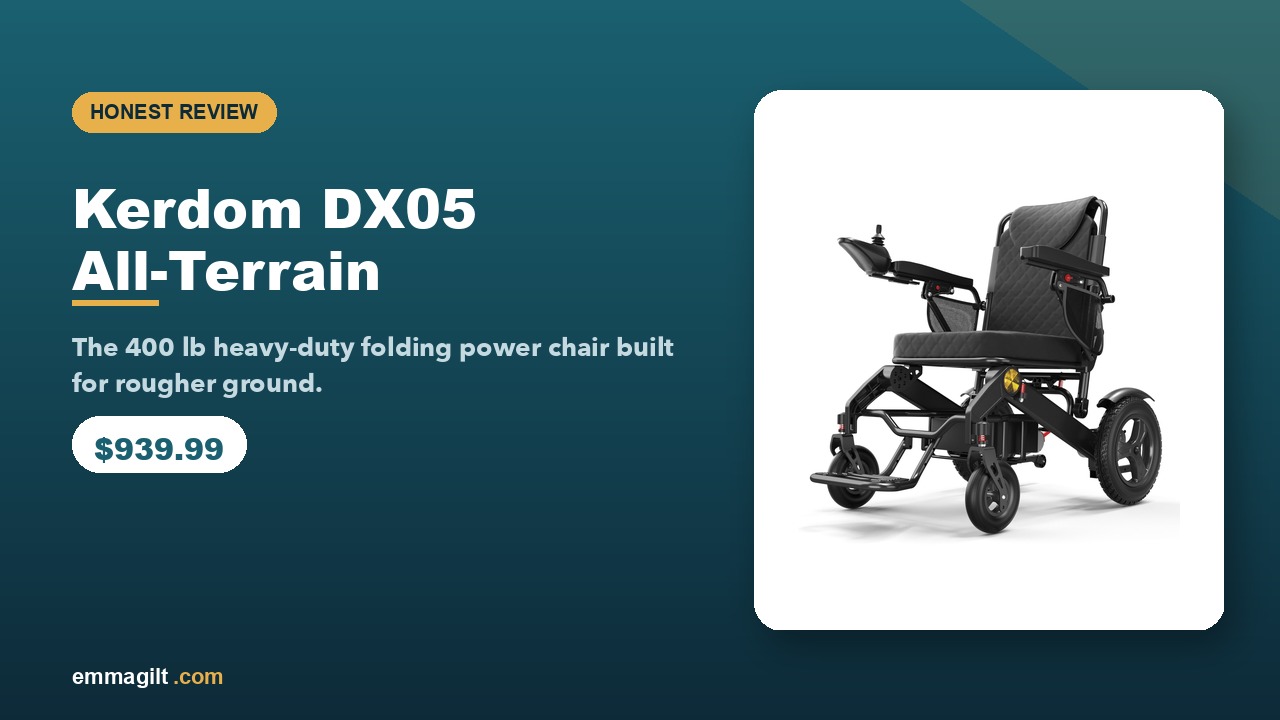 Kerdom DX05 Review: The 400 lb All-Terrain Folding Power Chair (2026)